
Audio Levels and Clipping Check
All Music Technology Worksheets
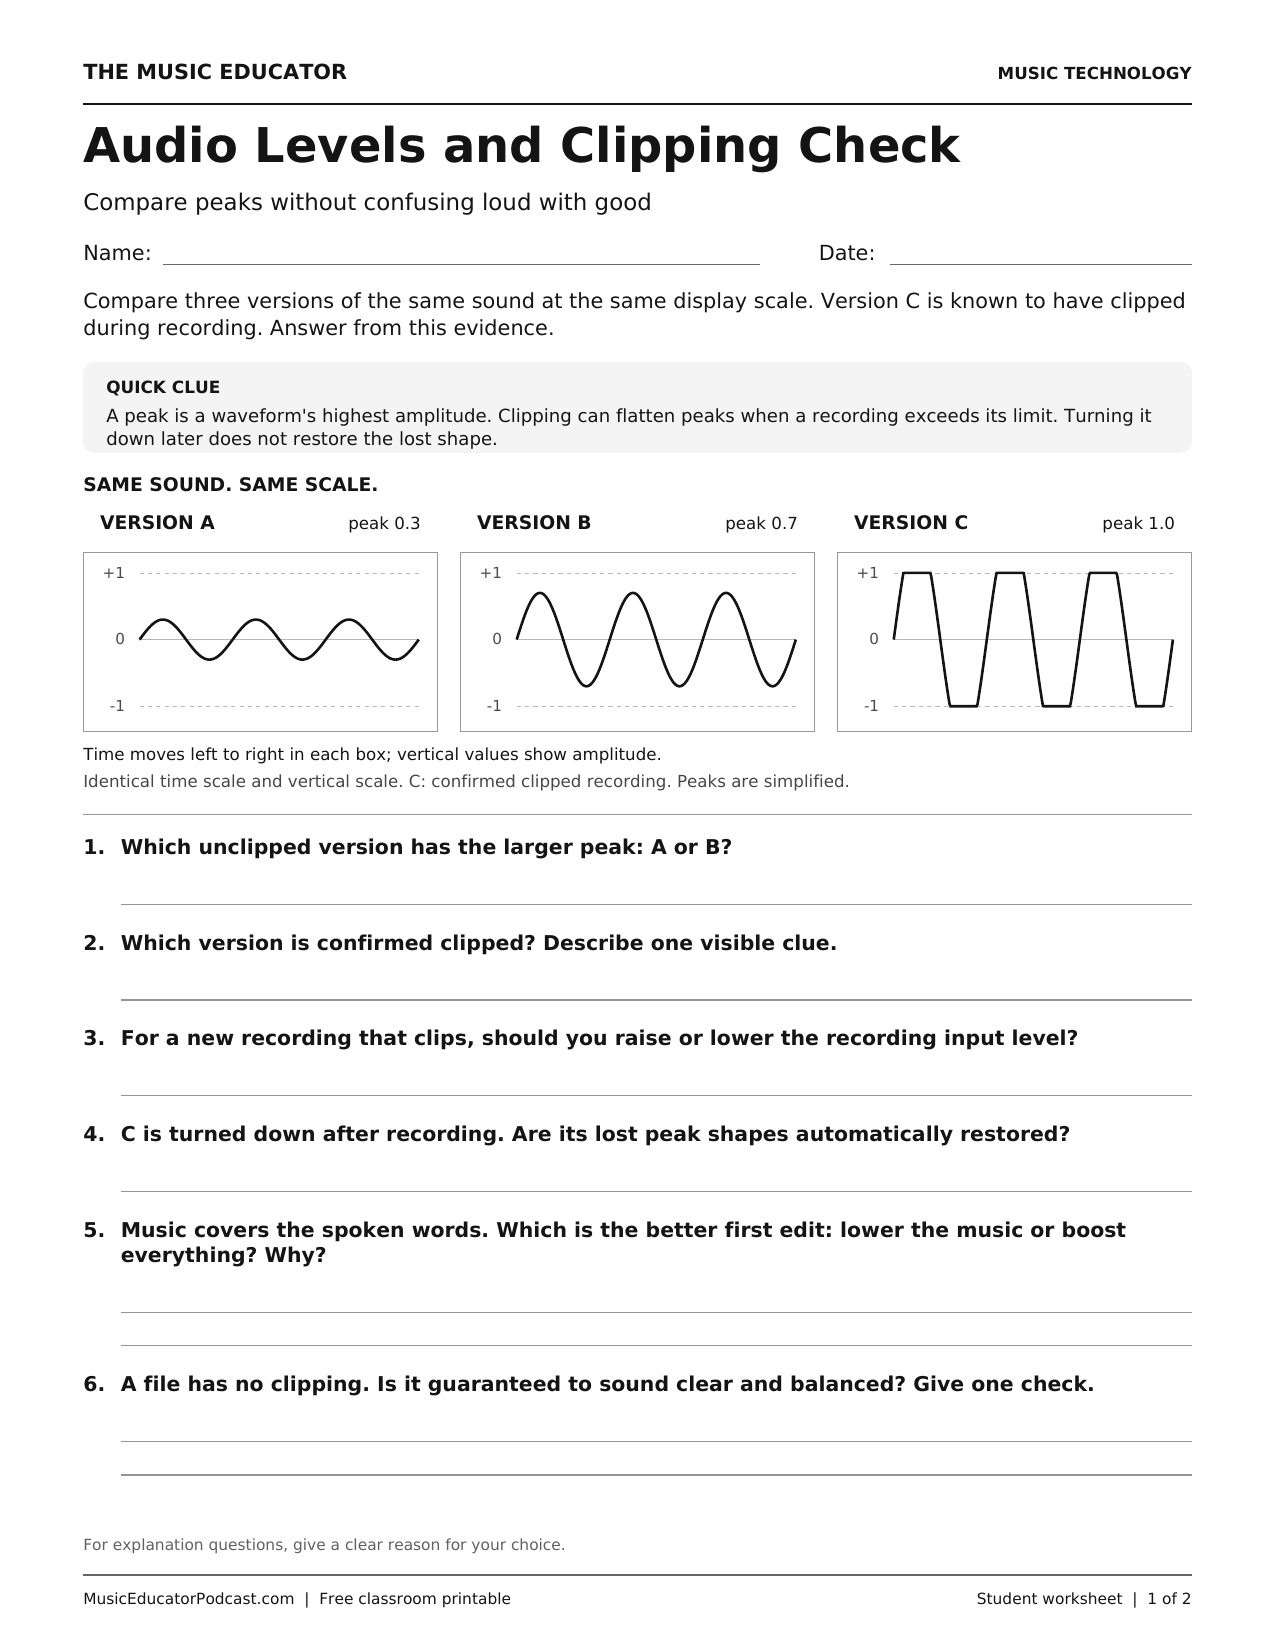
Bigger peaks do not automatically mean better audio. Students compare three same-scale versions of one signal, recognize a confirmed clipped recording, and choose sensible level adjustments. The worksheet separates preventing clipping during recording from merely making a damaged recording quieter afterward.
Learning objectives
- Compare relative peak amplitudes on matching scales.
- Recognize the flattened peaks in a confirmed clipping example.
- Choose a lower input level for a new test recording.
- Distinguish level changes from restoration of lost audio detail.
- Check speech-to-music balance by listening.
How to use this worksheet
Before handing out the page, explain that the diagrams show the same sound with the same visual scale. Keep playback comfortable if demonstrating examples. Have students identify what they would change and then describe how they would check the result.
What is included
The free two-page US Letter PDF contains one student worksheet followed by its matching answer key. Print page 1 for students; keep page 2 for discussion or checking. No audio files or software account are required.
Download worksheet and answer key (PDF)
Frequently asked questions
Are the diagrams exact audio measurements?
No. They are simplified teaching diagrams with stated peak values and a common scale.
Does lowering clipped audio repair it?
Lowering its level does not itself reconstruct lost peaks. Repair tools may estimate missing information, but a clean new recording is preferable when possible.
Why not make every clip as loud as possible?
Good editing also depends on clarity, balance, and the intended listening experience. Avoiding clipping is only one part of the check.