
Piano Reading and Pattern Lab
17 free piano worksheets with answer keys
Help students connect the page to the keyboard. This collection explores treble and bass staff positions, ledger lines, octave registers, five-note scale patterns and musical decisions involving both hands.
Each activity includes eight questions on one student page and a matching answer key on page 2. Short reference models make the activities usable with a pencil, with or without a piano.
Download complete Piano Lab (PDF)Complete packet: 34 pages. Pages 1–17 are student worksheets; pages 18–34 are the corresponding answer keys in the same order.
Learning objectives
- Identify piano-key pitches from treble and bass staff positions, including ledger lines.
- Track octave numbers across B-to-C register changes.
- Compare major and minor five-note patterns by half-step distances.
- Distinguish two-hand motion, chord attacks and accompaniment order.
- Follow supplied tie, pedal-change and repeat-ending plans.
Choose a worksheet
- Middle-C Connections
- Treble Staff-to-Key Map
- Bass Staff-to-Key Map
- Treble Ledger-Line Path
- Bass Ledger-Line Path
- Octave Register Crossings
- C-Major Five-Note Pattern
- G-Major Five-Note Pattern
- F-Major Five-Note Pattern
- A-Minor Five-Note Pattern
- Two-Hand Motion Paths
- Blocked and Broken Chords
- Left-Hand Accompaniment Route
- Melody and Balance Plan
- Ties and Repeated Attacks
- Pedal-Change Timeline
- Repeat-Ending Roadmap
Using the activities in class
Begin with the staff or pattern page that matches your lesson, model one item, and ask students to explain how the reference supports their answer. Use a completed page as an exit ticket or a starting point for a short keyboard demonstration. Staff diagrams name the clef in words and provide a reference line; noteheads show pitch only. Five-note patterns describe scale degrees rather than finger assignments. For the balance activity, accept other specific rehearsal plans that address the supplied evidence. Adapt practical fingering and pedaling choices with a teacher.
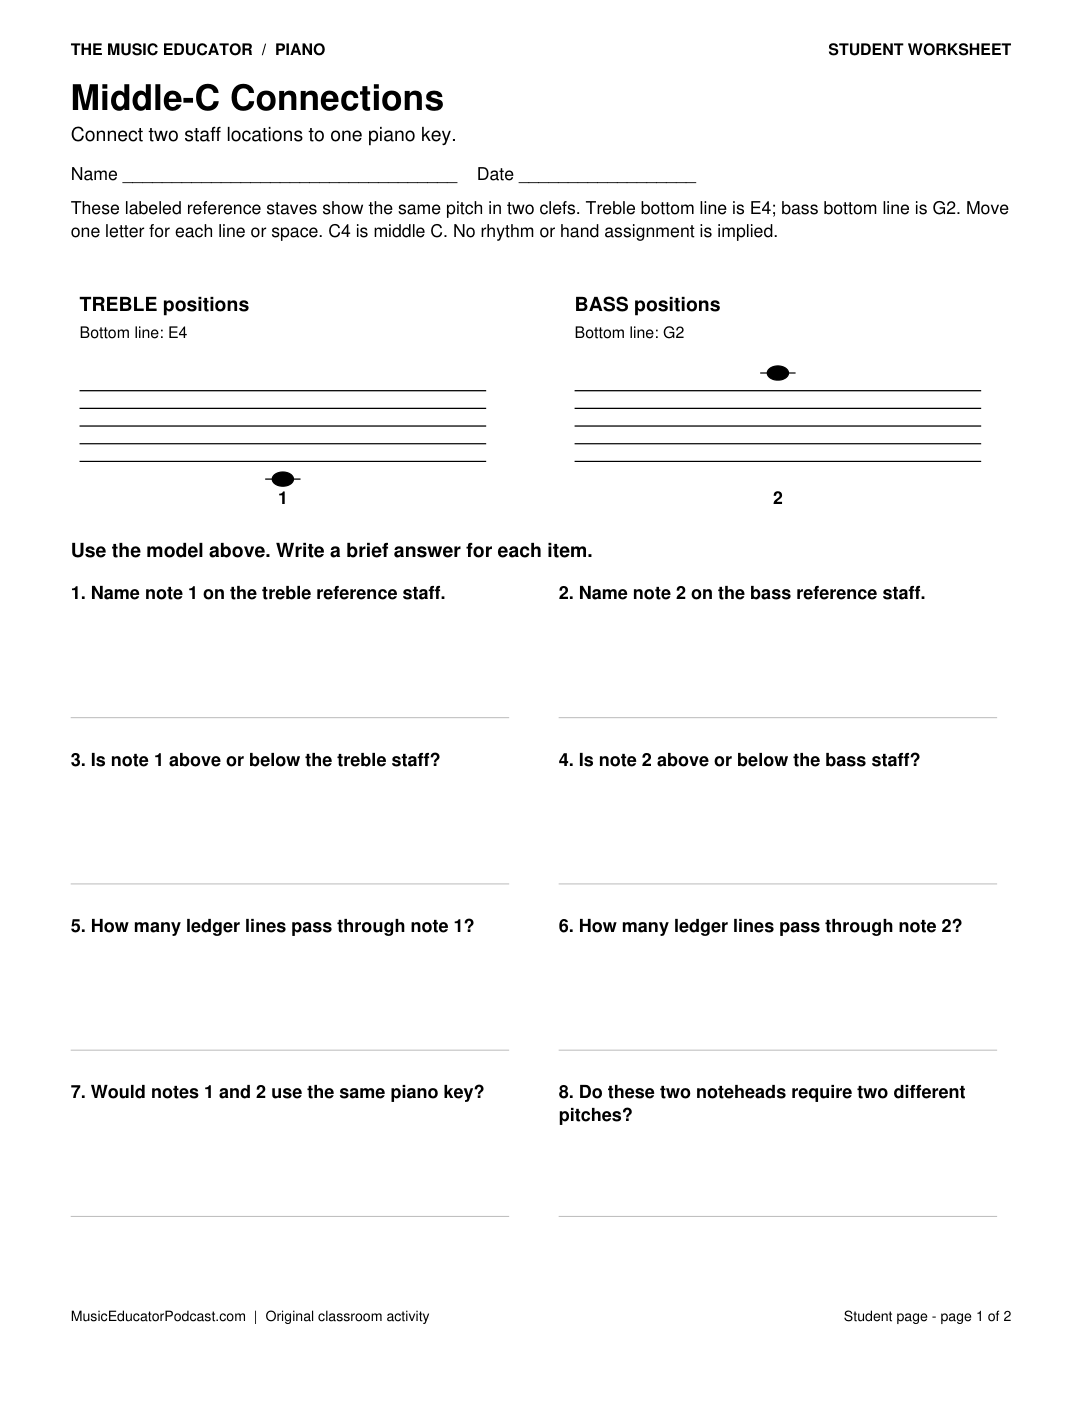
1. Middle-C Connections
Connect two staff locations to one piano key. These labeled reference staves show the same pitch in two clefs. Treble bottom line is E4; bass bottom line is G2. Move one letter for each line or space. C4 is middle C. No rhythm or hand assignment is implied.
Download Middle-C Connections (PDF)Student worksheet on page 1; matching answer key on page 2.
Preview the student worksheet
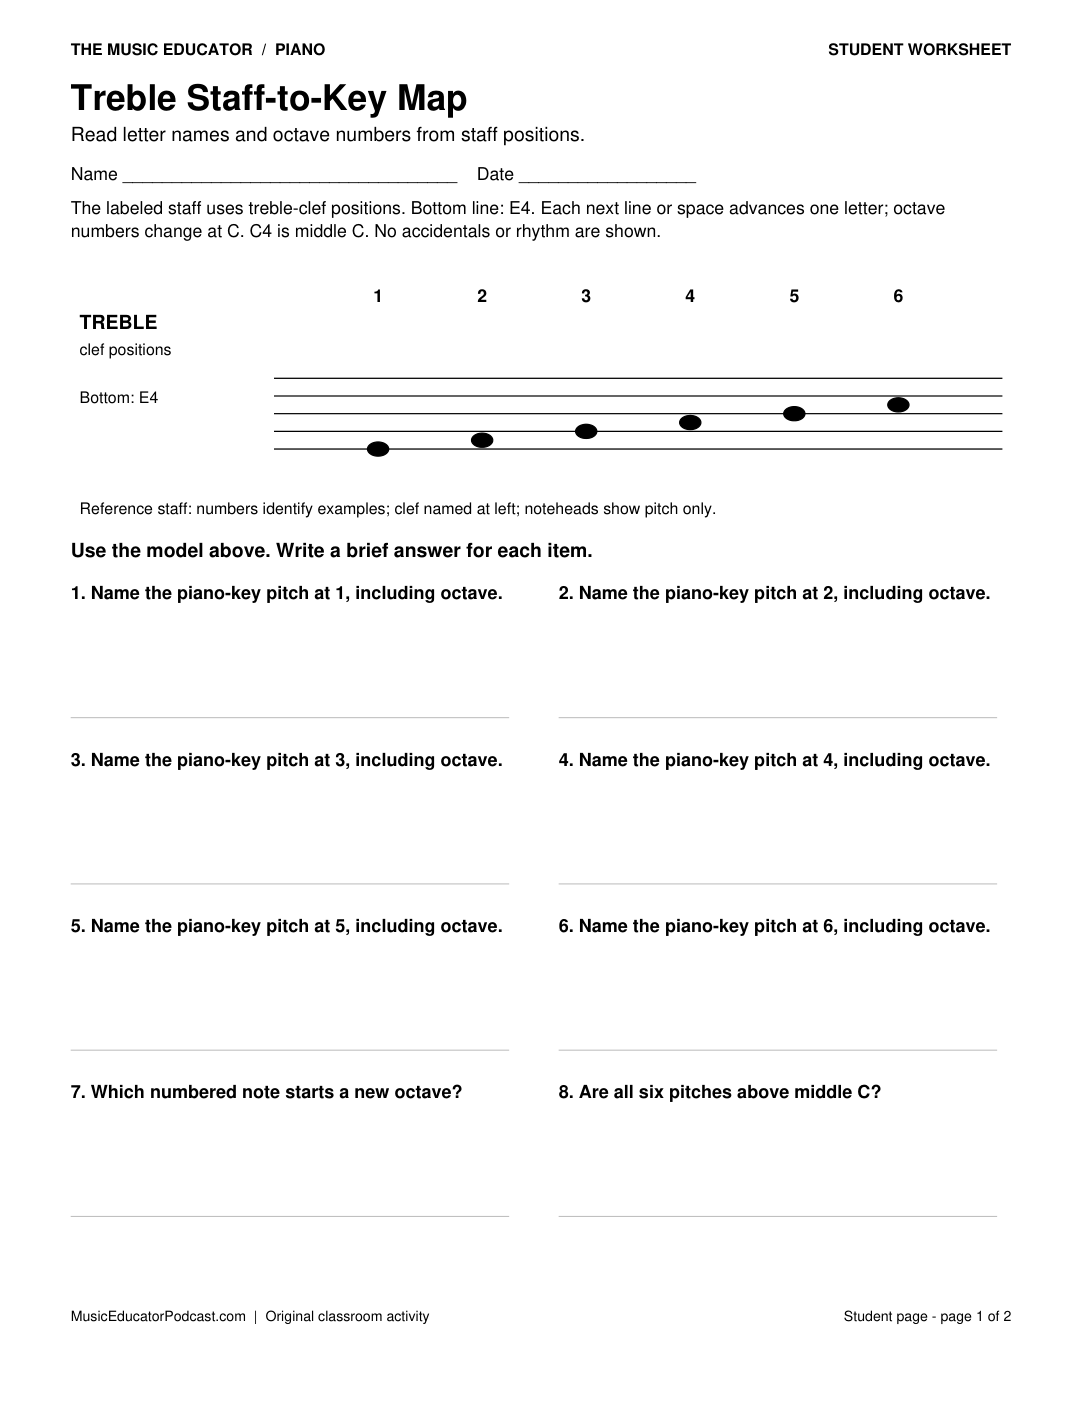
2. Treble Staff-to-Key Map
Read letter names and octave numbers from staff positions. The labeled staff uses treble-clef positions. Bottom line: E4. Each next line or space advances one letter; octave numbers change at C. C4 is middle C. No accidentals or rhythm are shown.
Download Treble Staff-to-Key Map (PDF)Student worksheet on page 1; matching answer key on page 2.
Preview the student worksheet
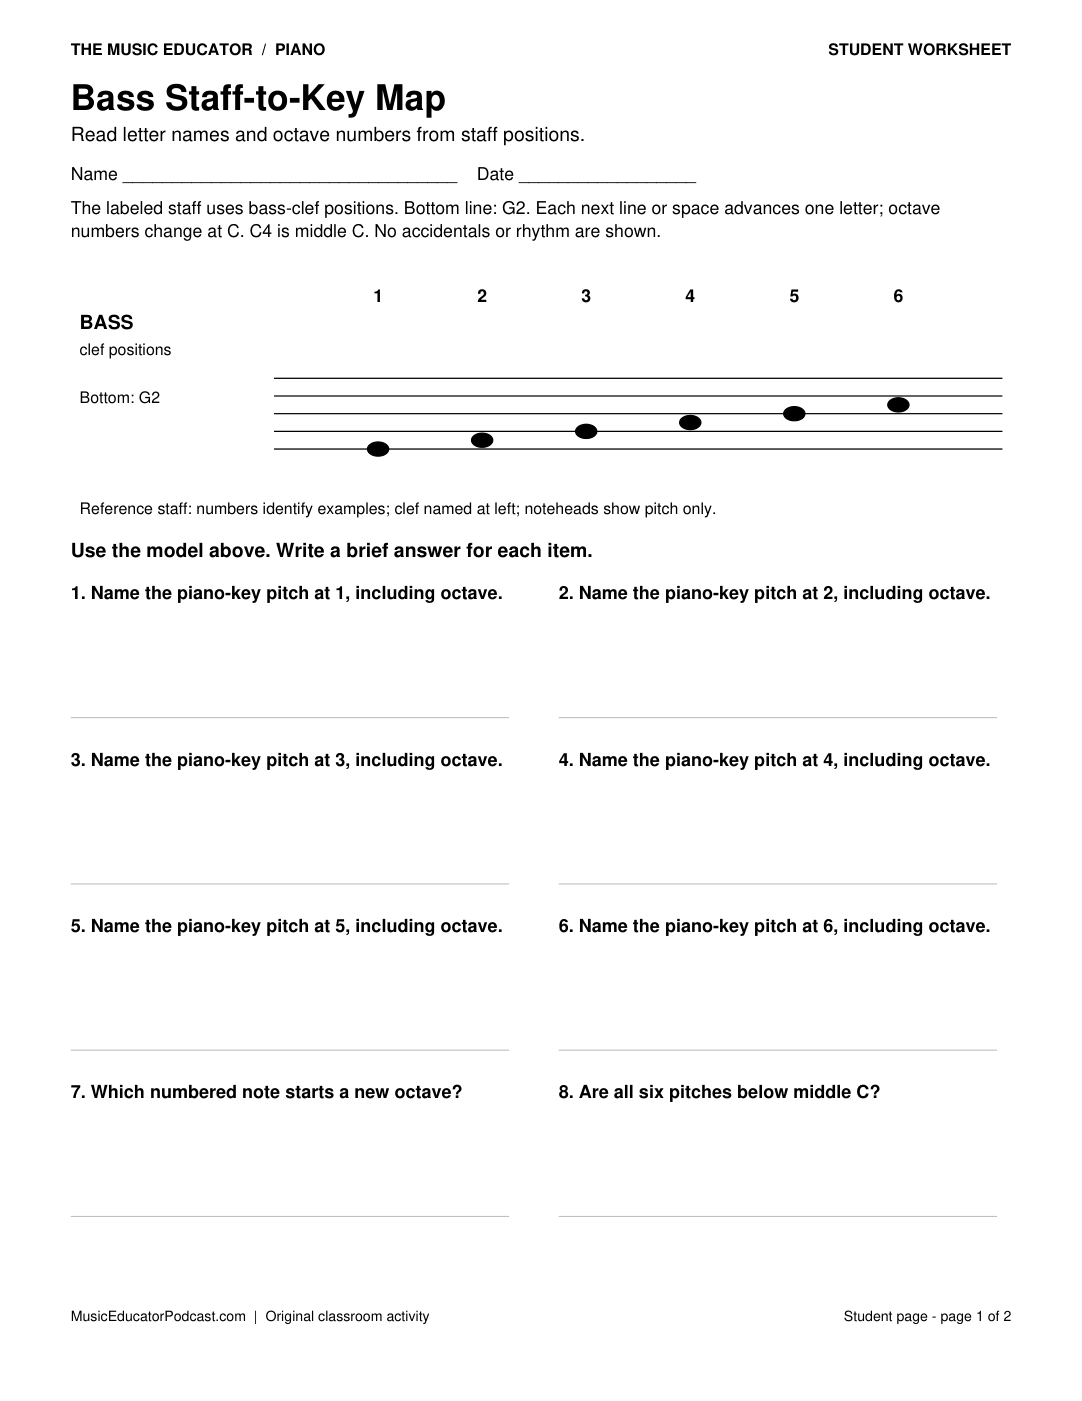
3. Bass Staff-to-Key Map
Read letter names and octave numbers from staff positions. The labeled staff uses bass-clef positions. Bottom line: G2. Each next line or space advances one letter; octave numbers change at C. C4 is middle C. No accidentals or rhythm are shown.
Download Bass Staff-to-Key Map (PDF)Student worksheet on page 1; matching answer key on page 2.
Preview the student worksheet
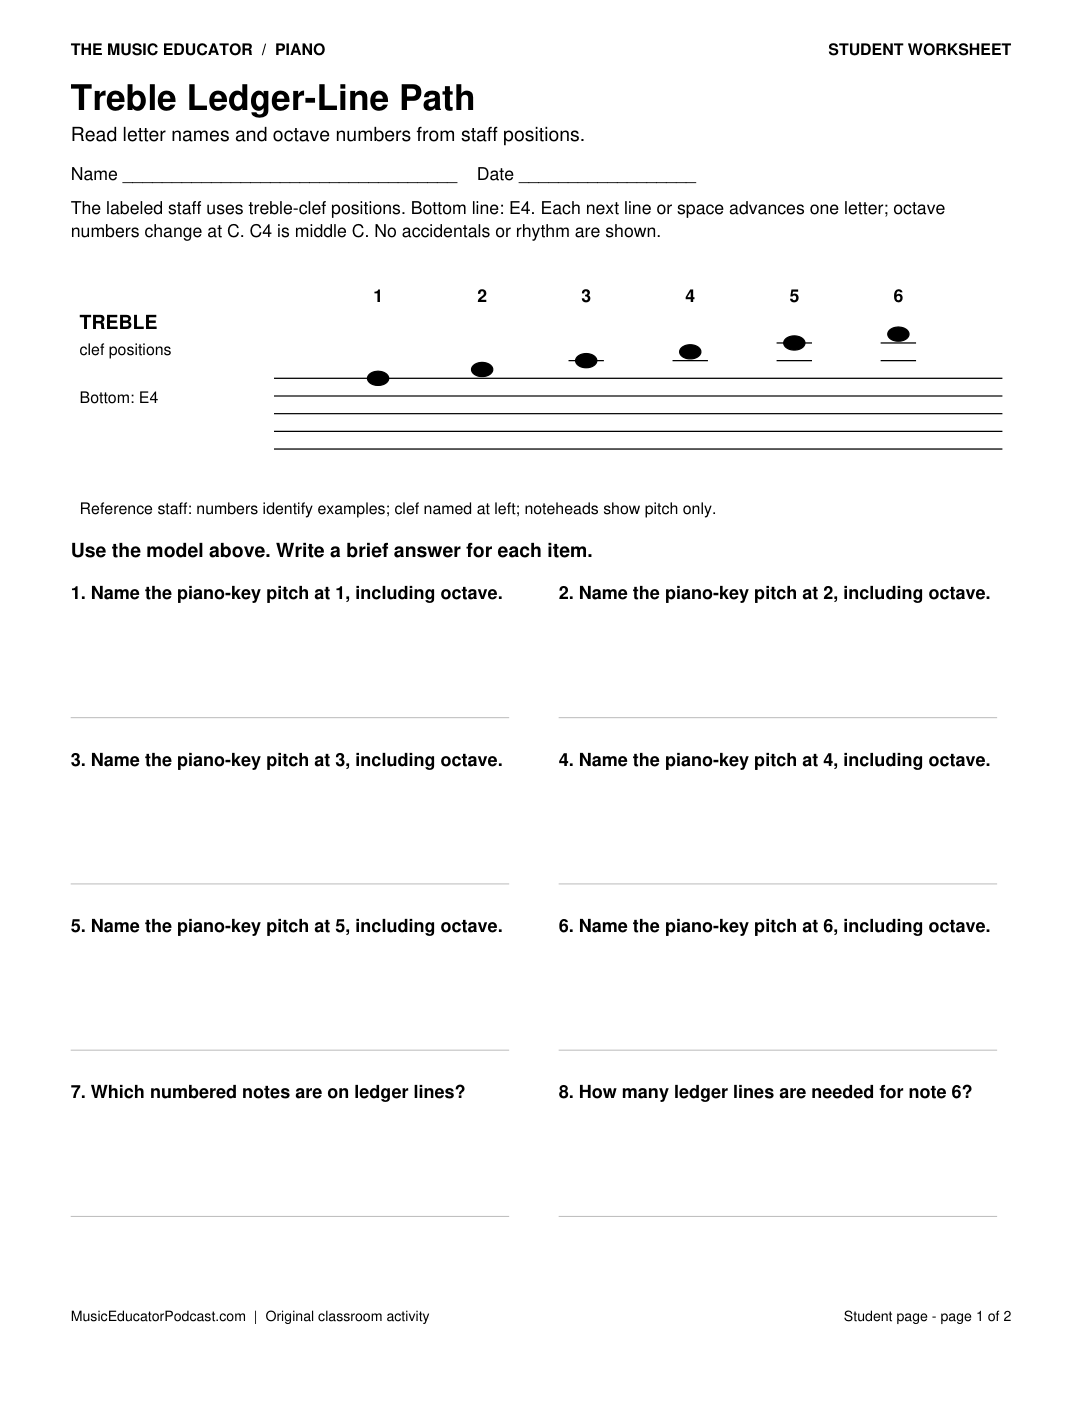
4. Treble Ledger-Line Path
Read letter names and octave numbers from staff positions. The labeled staff uses treble-clef positions. Bottom line: E4. Each next line or space advances one letter; octave numbers change at C. C4 is middle C. No accidentals or rhythm are shown.
Download Treble Ledger-Line Path (PDF)Student worksheet on page 1; matching answer key on page 2.
Preview the student worksheet
5. Bass Ledger-Line Path
Read letter names and octave numbers from staff positions. The labeled staff uses bass-clef positions. Bottom line: G2. Each next line or space advances one letter; octave numbers change at C. C4 is middle C. No accidentals or rhythm are shown.
Download Bass Ledger-Line Path (PDF)Student worksheet on page 1; matching answer key on page 2.
Preview the student worksheet
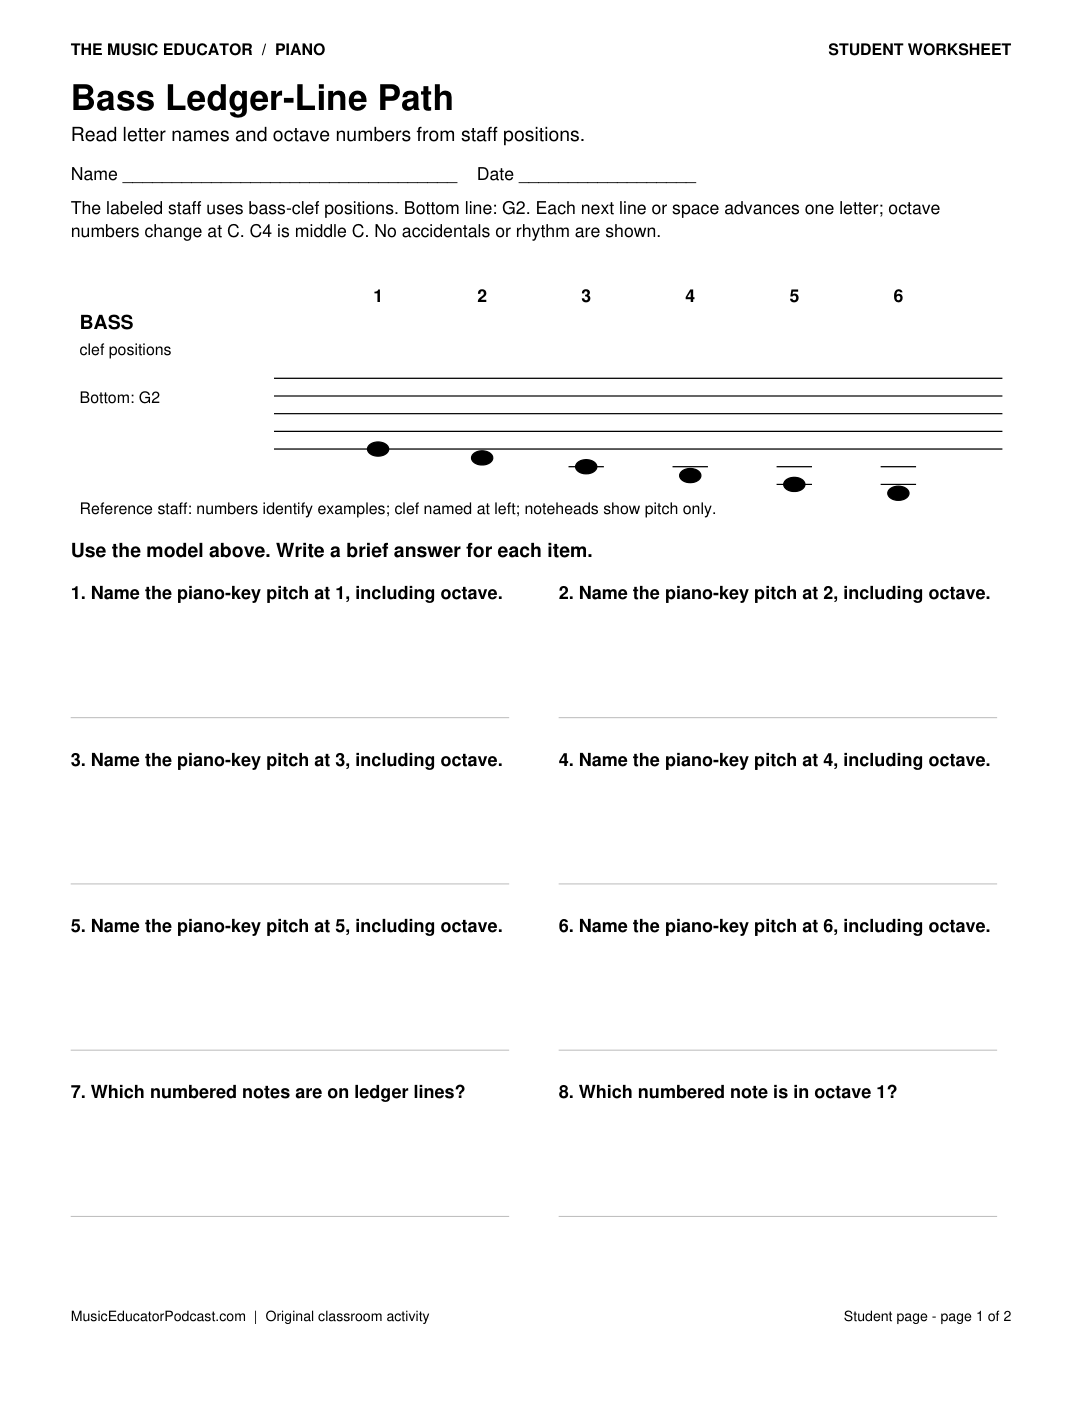
6. Octave Register Crossings
Keep octave numbers attached to their notes. The map shows successive WHITE keys, left to right. Octave numbers change at C, not at A. C4 is middle C. A matching letter in the next octave is 12 half steps higher.
Download Octave Register Crossings (PDF)Student worksheet on page 1; matching answer key on page 2.
Preview the student worksheet
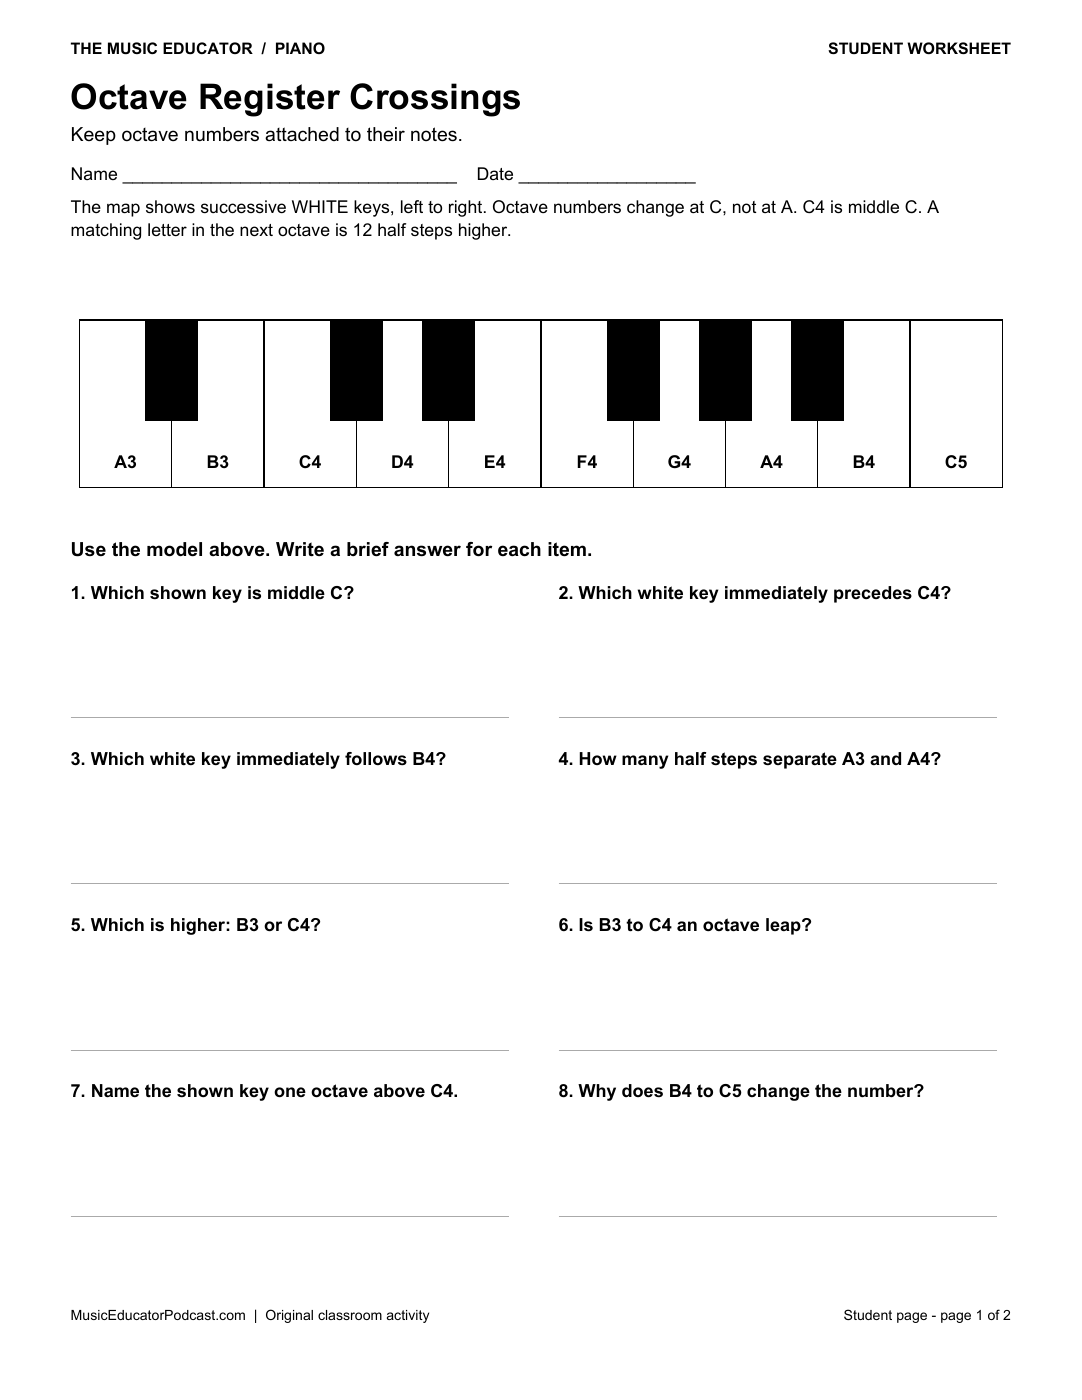
7. C-Major Five-Note Pattern
Connect scale degrees with keyboard distances. Use the first five ascending scale degrees shown below. Gap sizes count half steps between consecutive notes. These are note patterns, not fingering instructions. C4 is middle C.
Download C-Major Five-Note Pattern (PDF)Student worksheet on page 1; matching answer key on page 2.
Preview the student worksheet
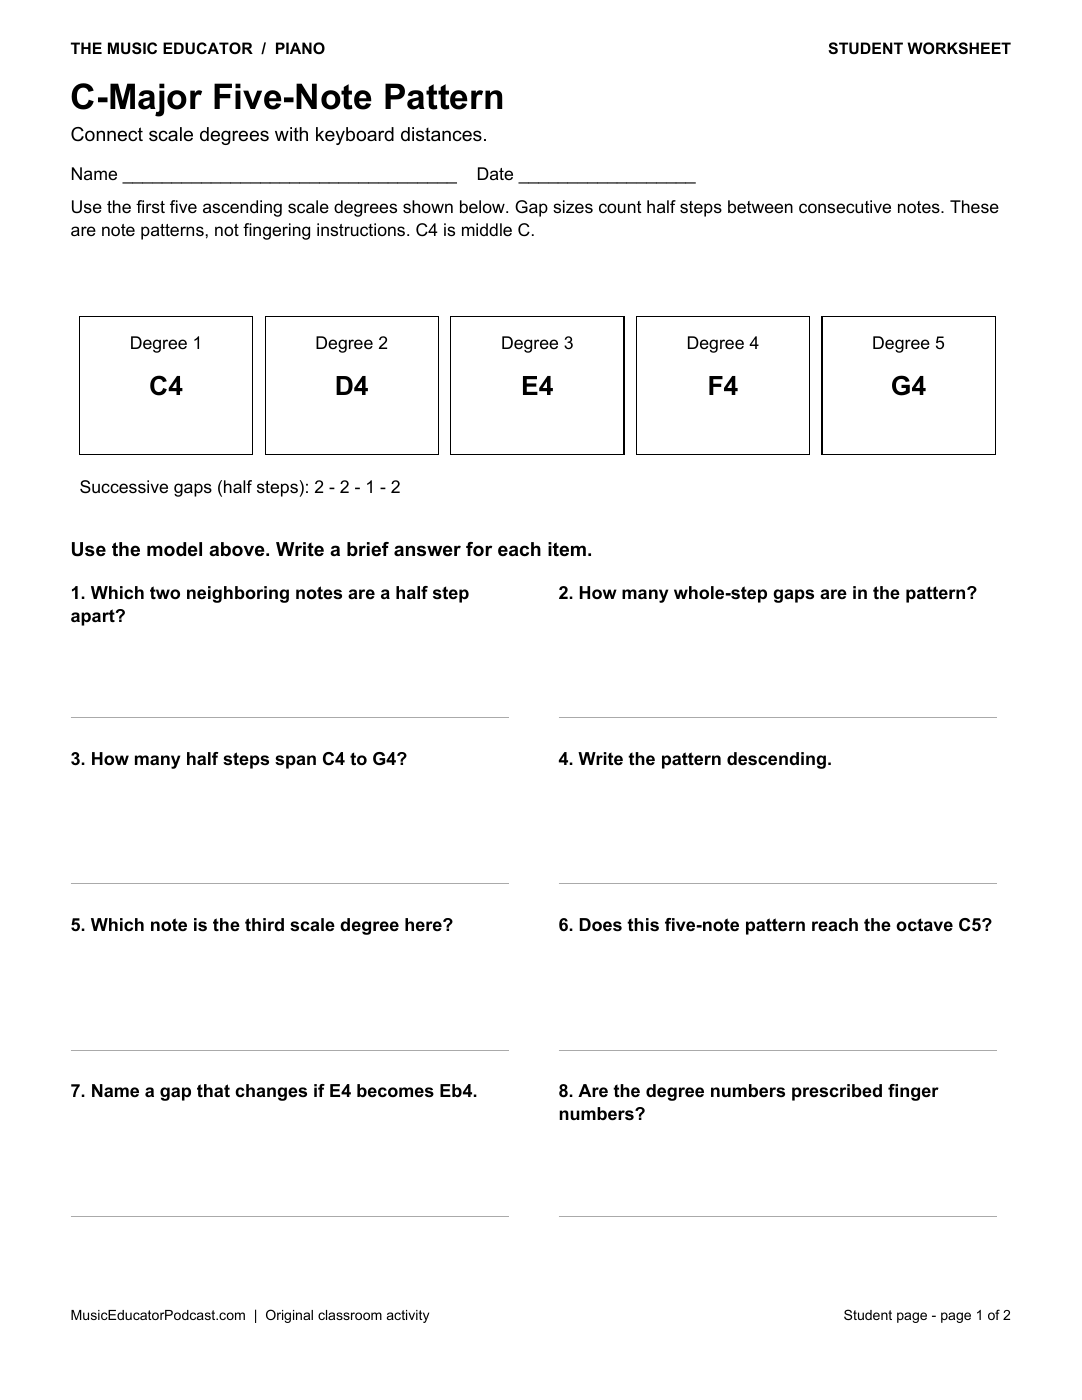
8. G-Major Five-Note Pattern
Connect scale degrees with keyboard distances. Use the first five ascending scale degrees shown below. Gap sizes count half steps between consecutive notes. These are note patterns, not fingering instructions. C4 is middle C.
Download G-Major Five-Note Pattern (PDF)Student worksheet on page 1; matching answer key on page 2.
Preview the student worksheet
9. F-Major Five-Note Pattern
Connect scale degrees with keyboard distances. Use the first five ascending scale degrees shown below. Gap sizes count half steps between consecutive notes. These are note patterns, not fingering instructions. C4 is middle C.
Download F-Major Five-Note Pattern (PDF)Student worksheet on page 1; matching answer key on page 2.
Preview the student worksheet
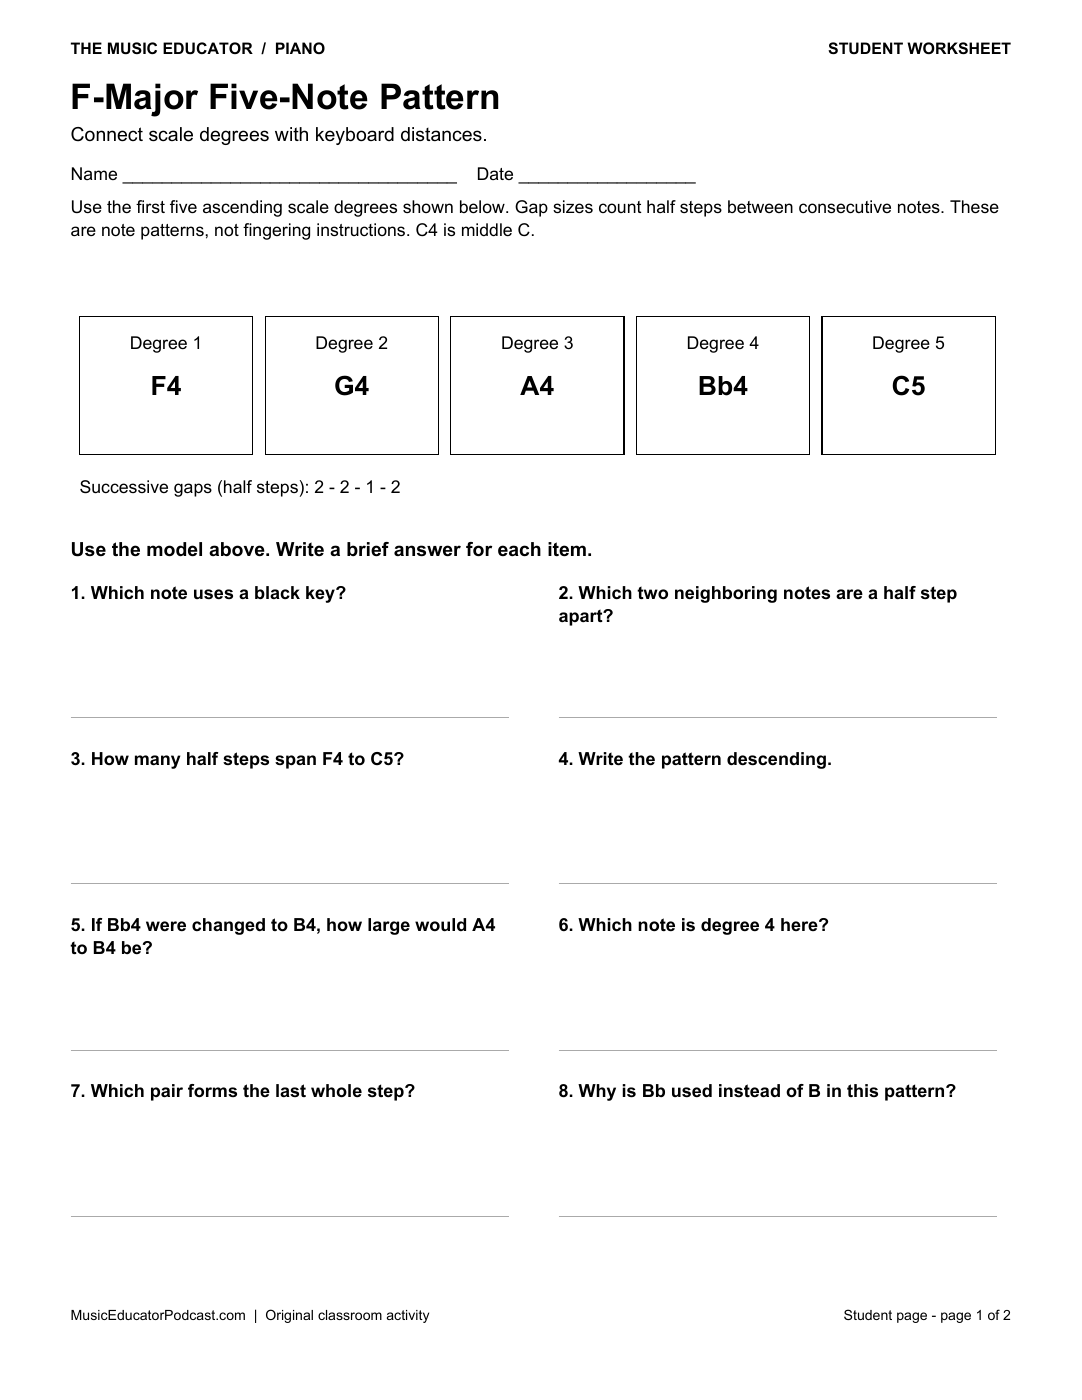
10. A-Minor Five-Note Pattern
Connect scale degrees with keyboard distances. Use the first five ascending scale degrees shown below. Gap sizes count half steps between consecutive notes. These are note patterns, not fingering instructions. C4 is middle C.
Download A-Minor Five-Note Pattern (PDF)Student worksheet on page 1; matching answer key on page 2.
Preview the student worksheet
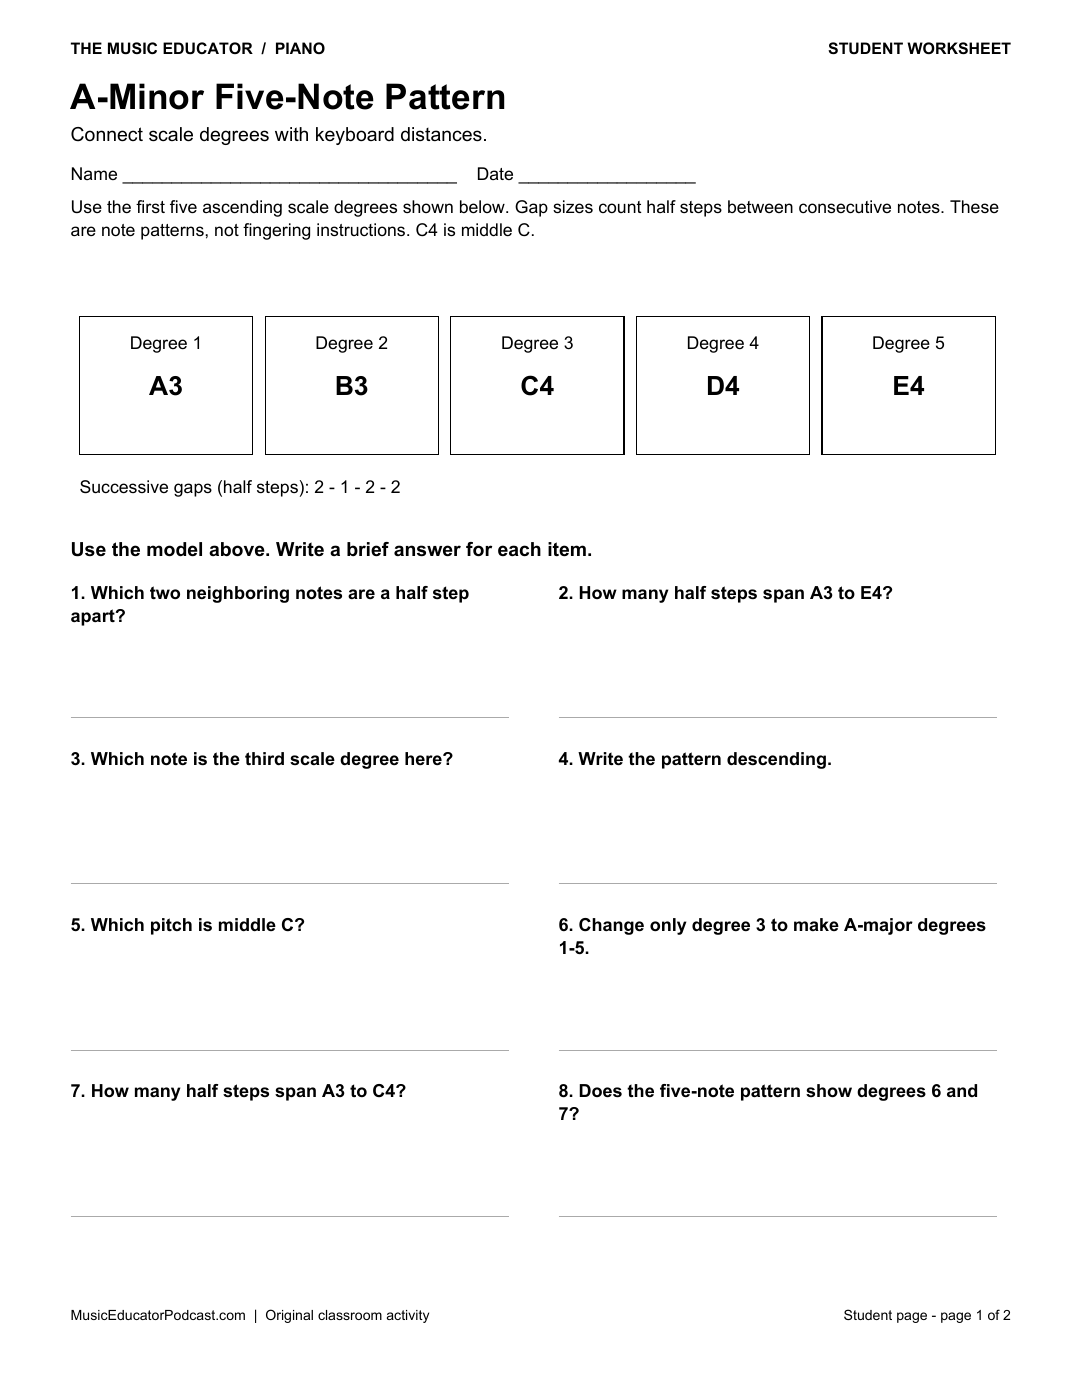
11. Two-Hand Motion Paths
Compare the direction of two pitch lines. RH = right hand; LH = left hand. Each column is one successive event. Similar motion: both lines move in the same direction. Contrary motion: they move in opposite directions. Parallel motion also preserves the interval.
Download Two-Hand Motion Paths (PDF)Student worksheet on page 1; matching answer key on page 2.
Preview the student worksheet
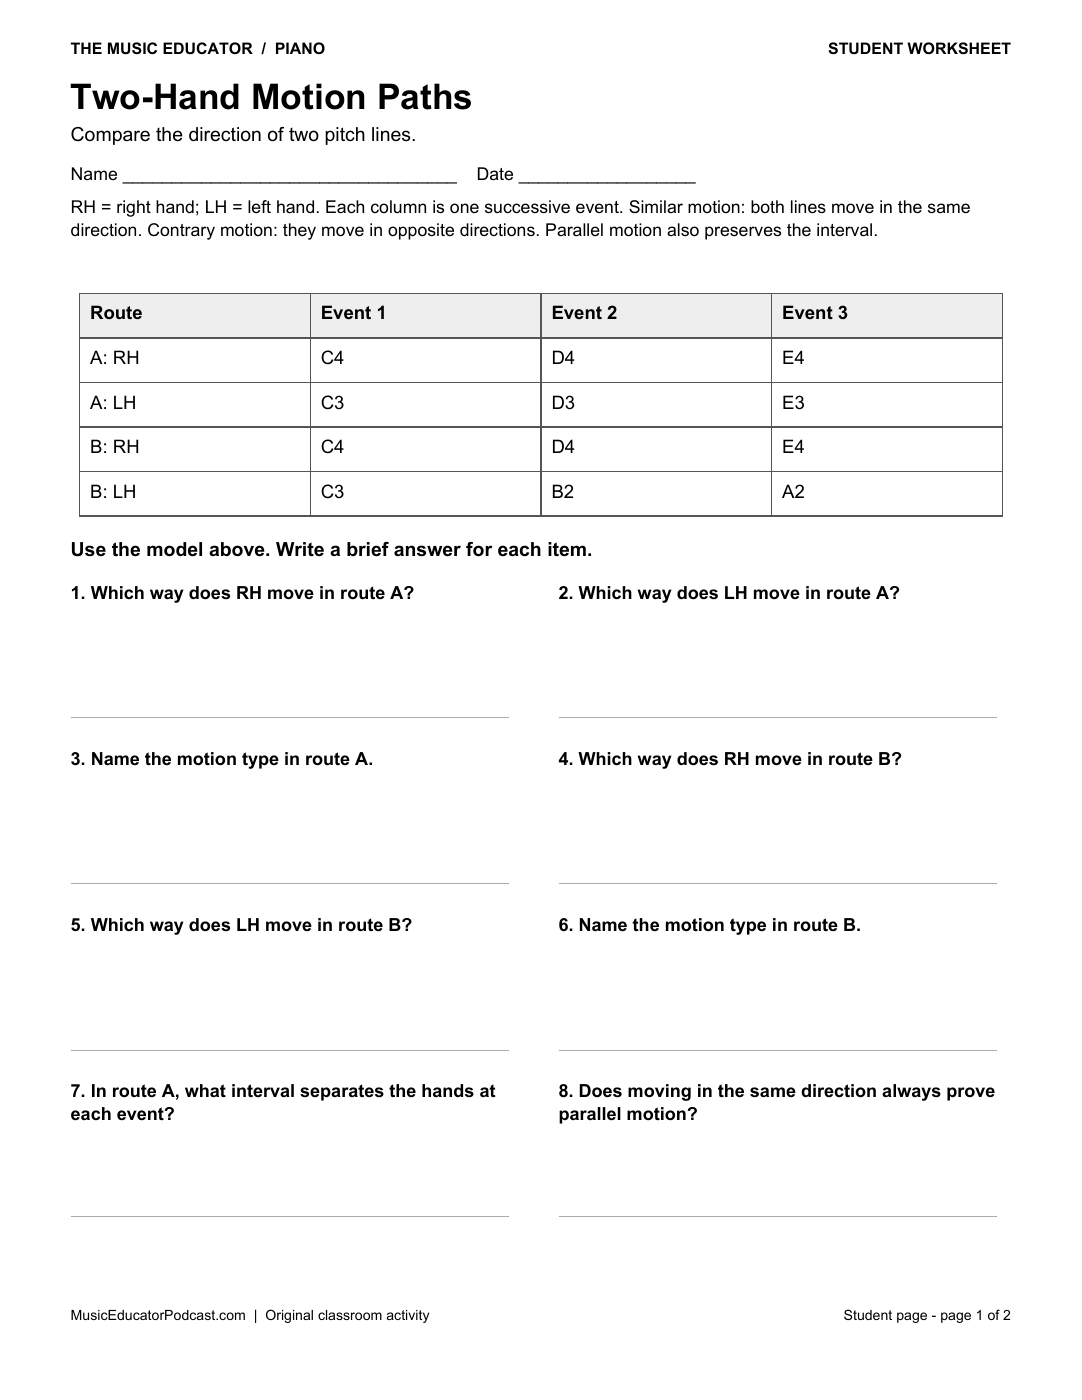
12. Blocked and Broken Chords
Distinguish a simultaneous attack from a sequence. All notes belong to C major. In model A, attack C4-E4-G4 together on beat 1 and hold for 4 beats. In B, play one note per quarter-note beat: C4, E4, G4, E4. Both models fill one 4/4 measure.
Download Blocked and Broken Chords (PDF)Student worksheet on page 1; matching answer key on page 2.
Preview the student worksheet
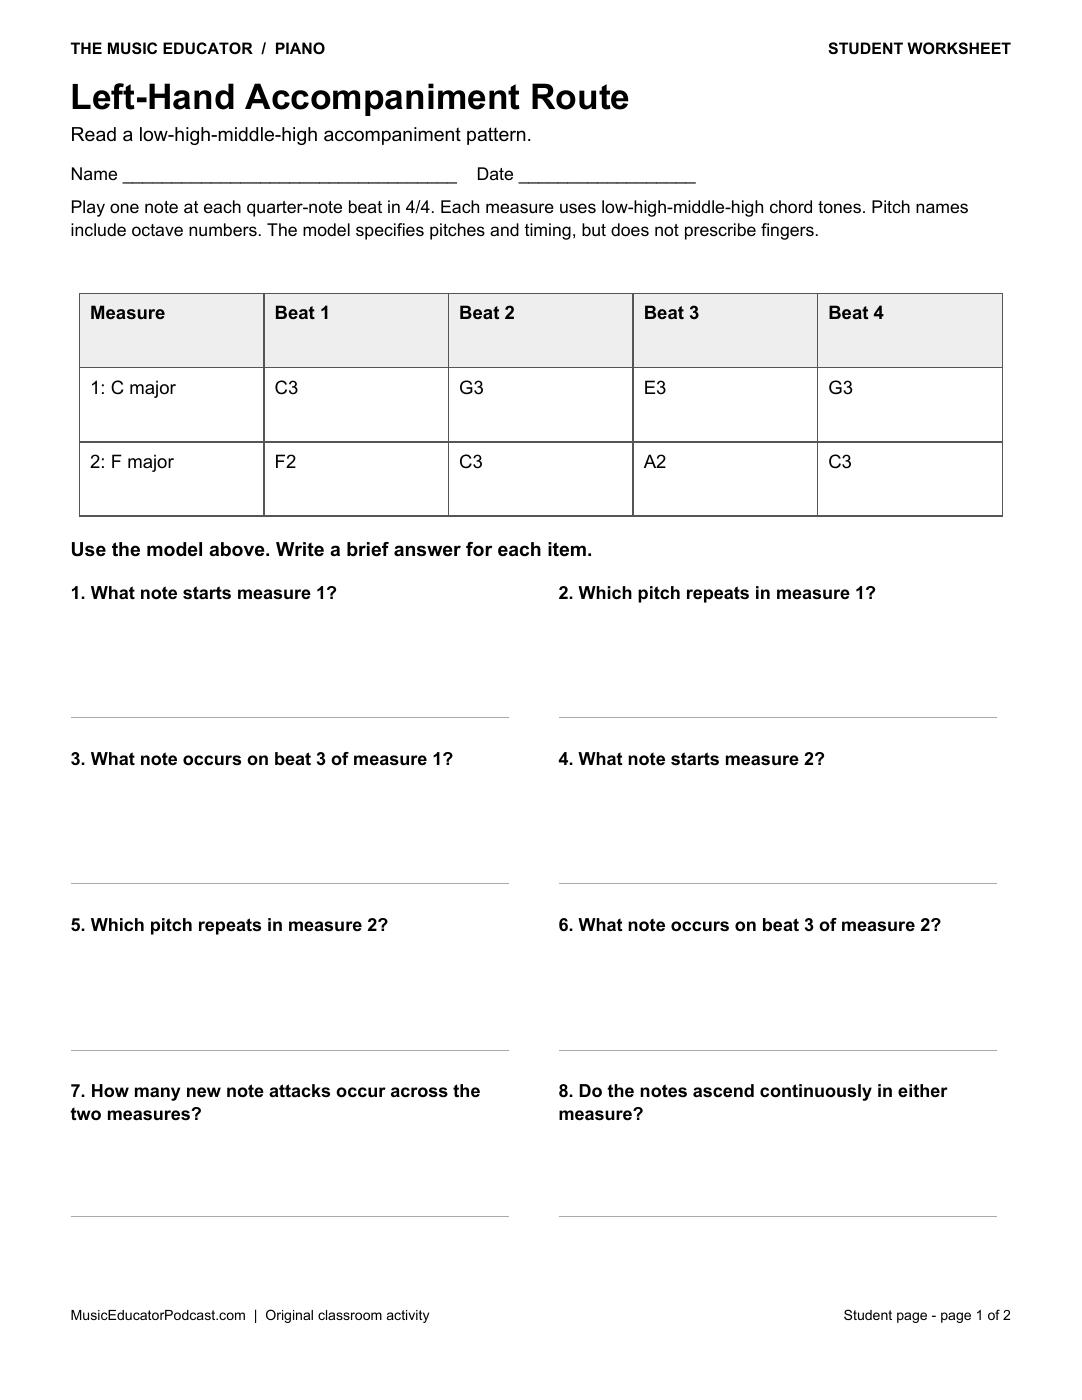
13. Left-Hand Accompaniment Route
Read a low-high-middle-high accompaniment pattern. Play one note at each quarter-note beat in 4/4. Each measure uses low-high-middle-high chord tones. Pitch names include octave numbers. The model specifies pitches and timing, but does not prescribe fingers.
Download Left-Hand Accompaniment Route (PDF)Student worksheet on page 1; matching answer key on page 2.
Preview the student worksheet
14. Melody and Balance Plan
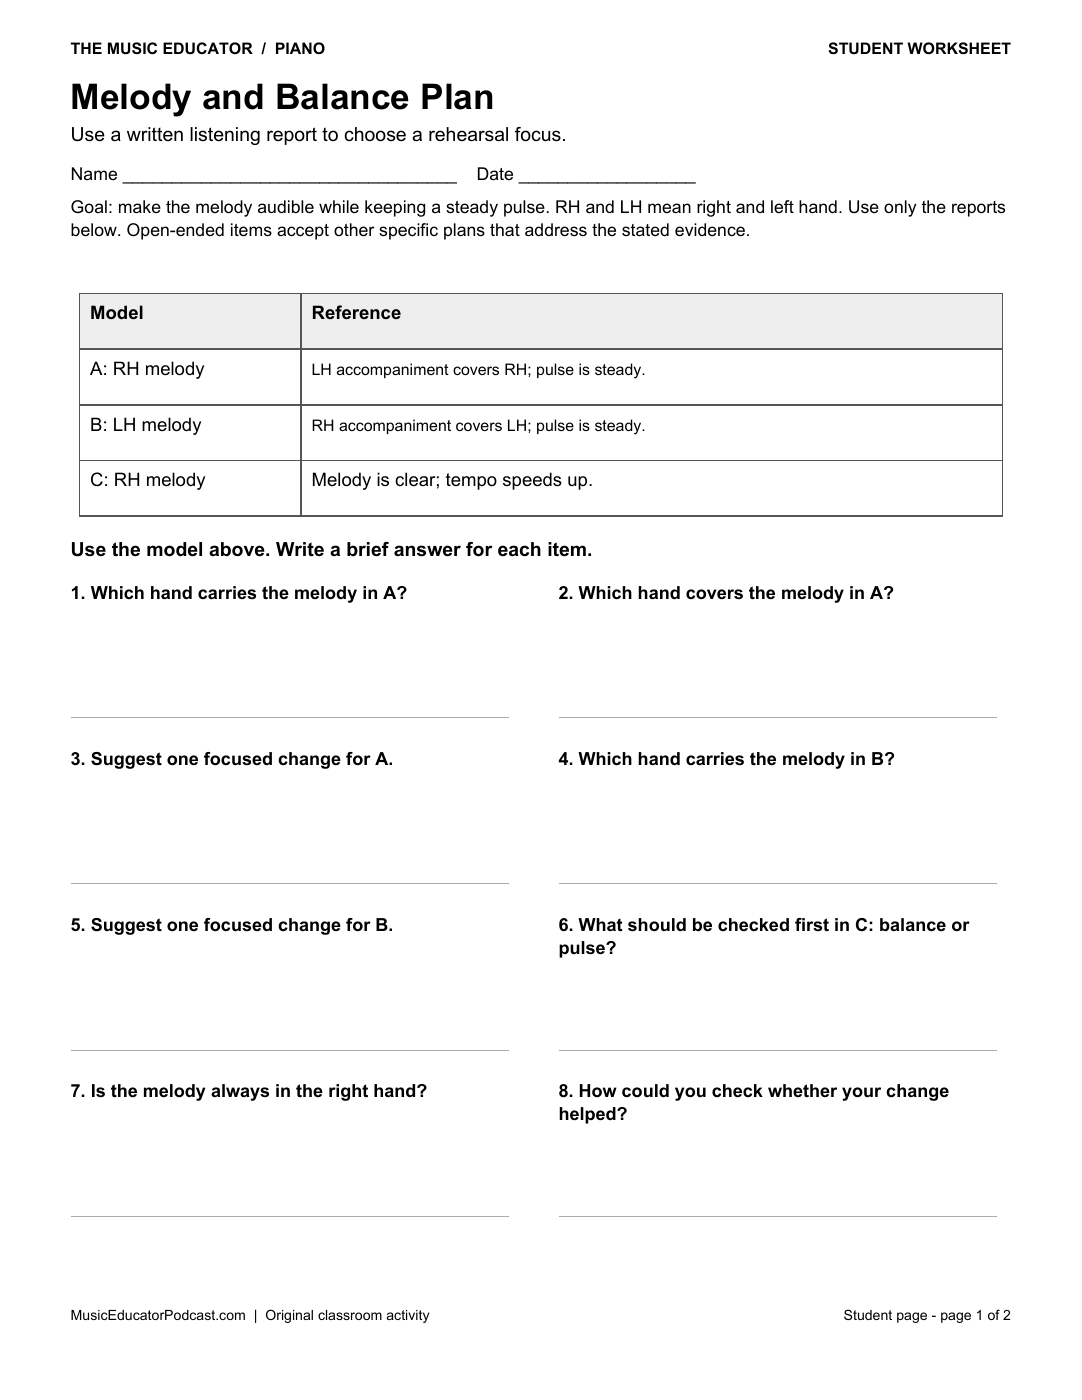
Use a written listening report to choose a rehearsal focus. Goal: make the melody audible while keeping a steady pulse. RH and LH mean right and left hand. Use only the reports below. Open-ended items accept other specific plans that address the stated evidence.
Download Melody and Balance Plan (PDF)Student worksheet on page 1; matching answer key on page 2.
Preview the student worksheet
15. Ties and Repeated Attacks
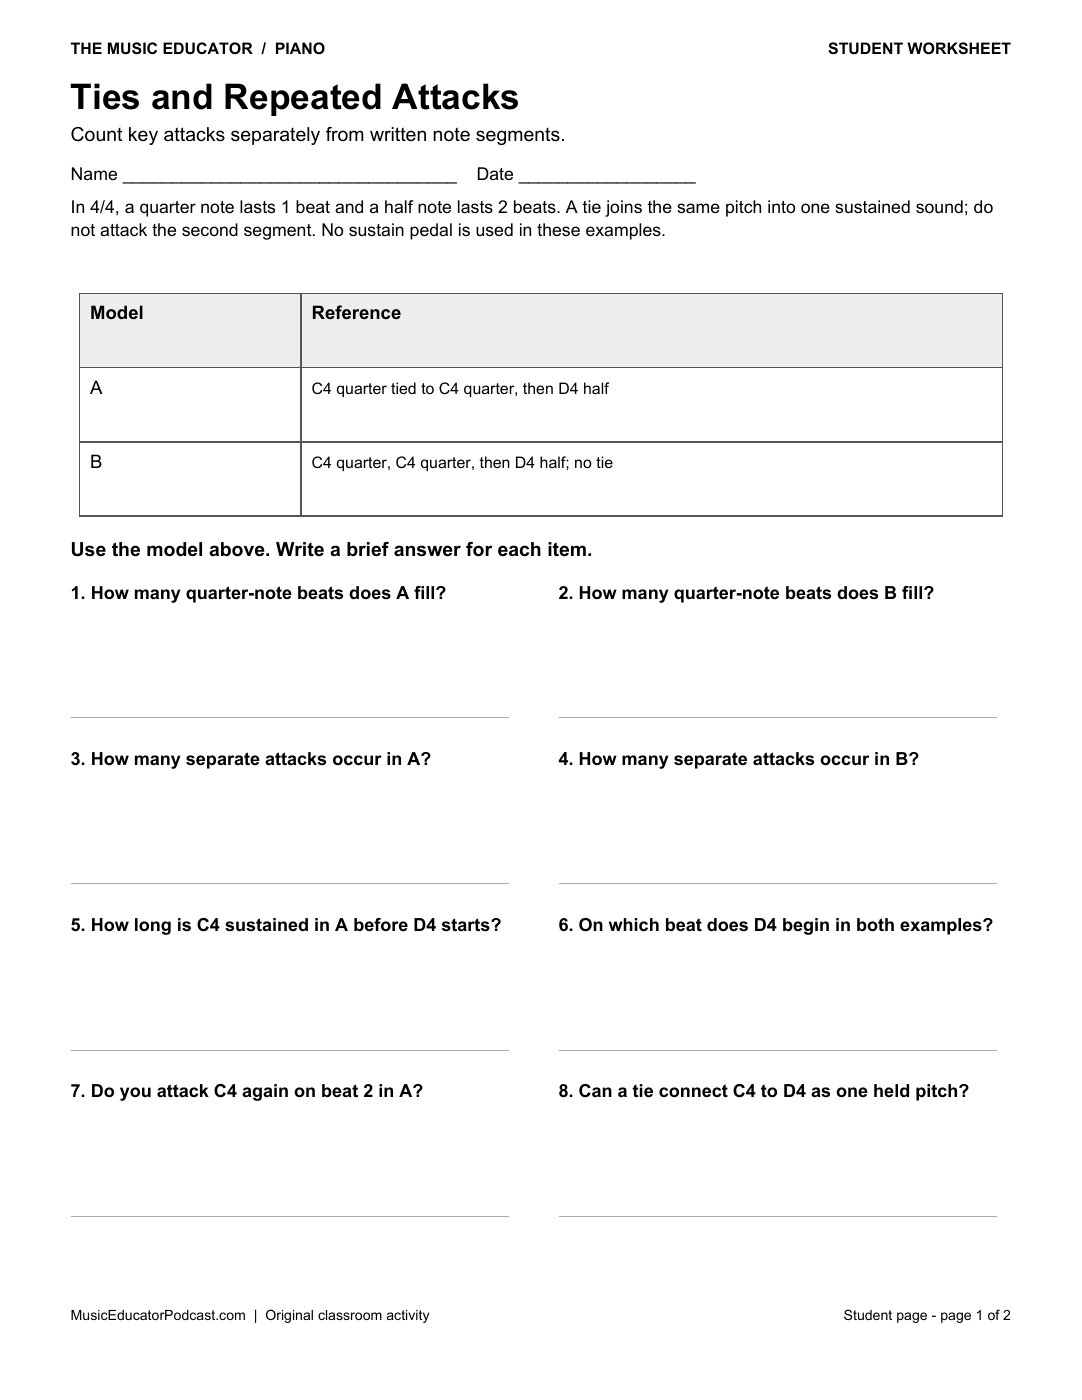
Count key attacks separately from written note segments. In 4/4, a quarter note lasts 1 beat and a half note lasts 2 beats. A tie joins the same pitch into one sustained sound; do not attack the second segment. No sustain pedal is used in these examples.
Download Ties and Repeated Attacks (PDF)Student worksheet on page 1; matching answer key on page 2.
Preview the student worksheet
16. Pedal-Change Timeline
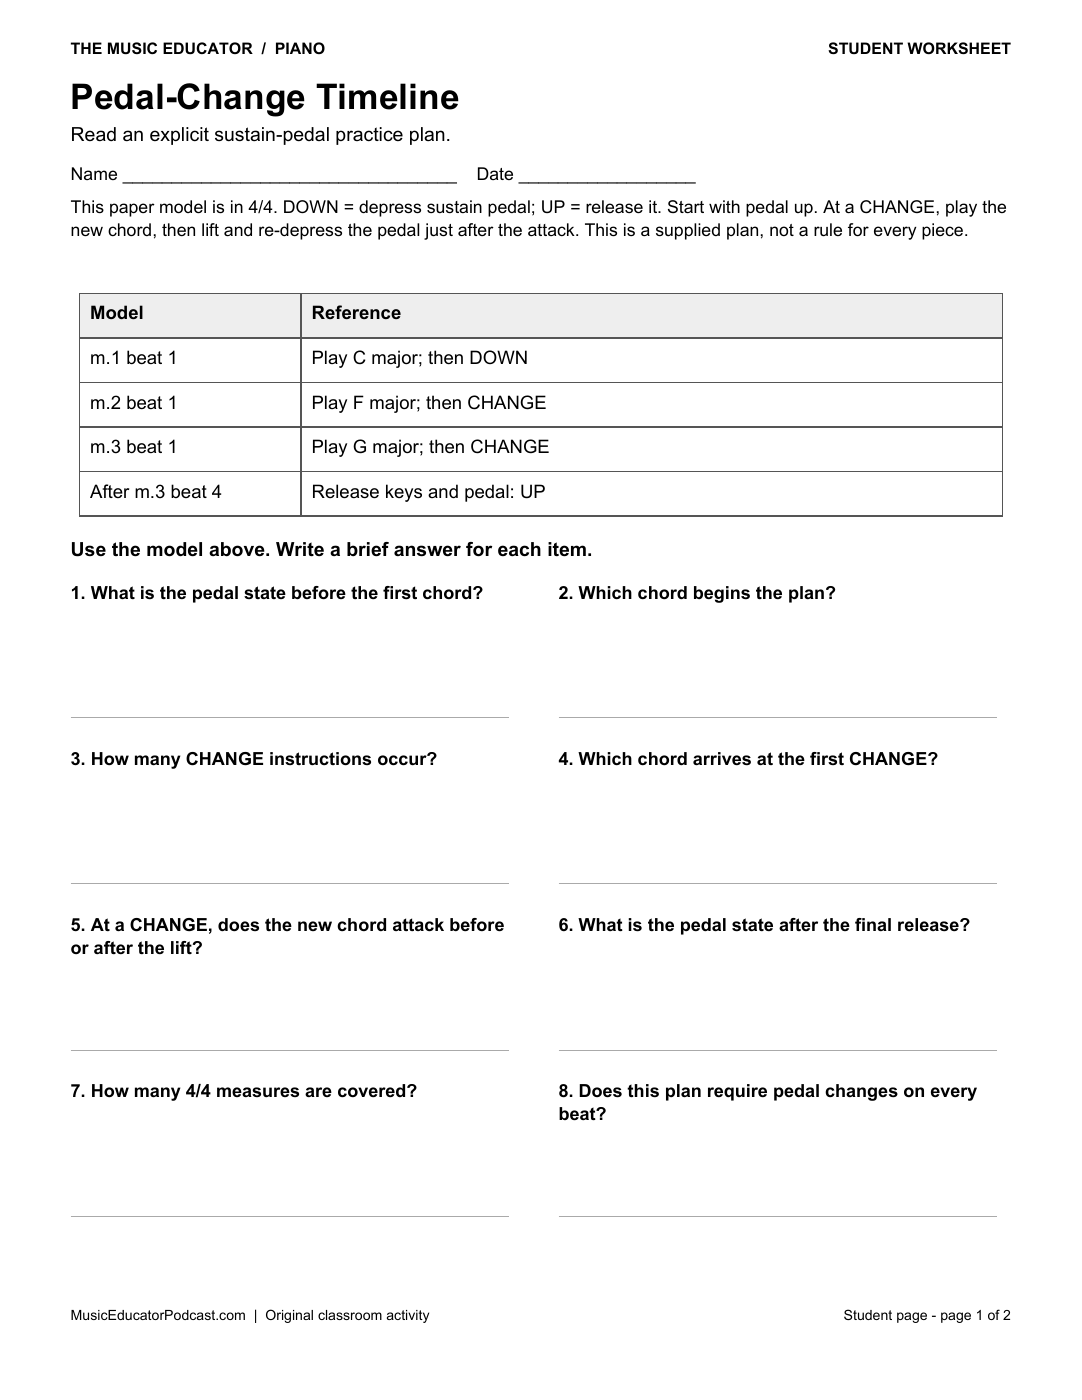
Read an explicit sustain-pedal practice plan. This paper model is in 4/4. DOWN = depress sustain pedal; UP = release it. Start with pedal up. At a CHANGE, play the new chord, then lift and re-depress the pedal just after the attack. This is a supplied plan, not a rule for every piece.
Download Pedal-Change Timeline (PDF)Student worksheet on page 1; matching answer key on page 2.
Preview the student worksheet
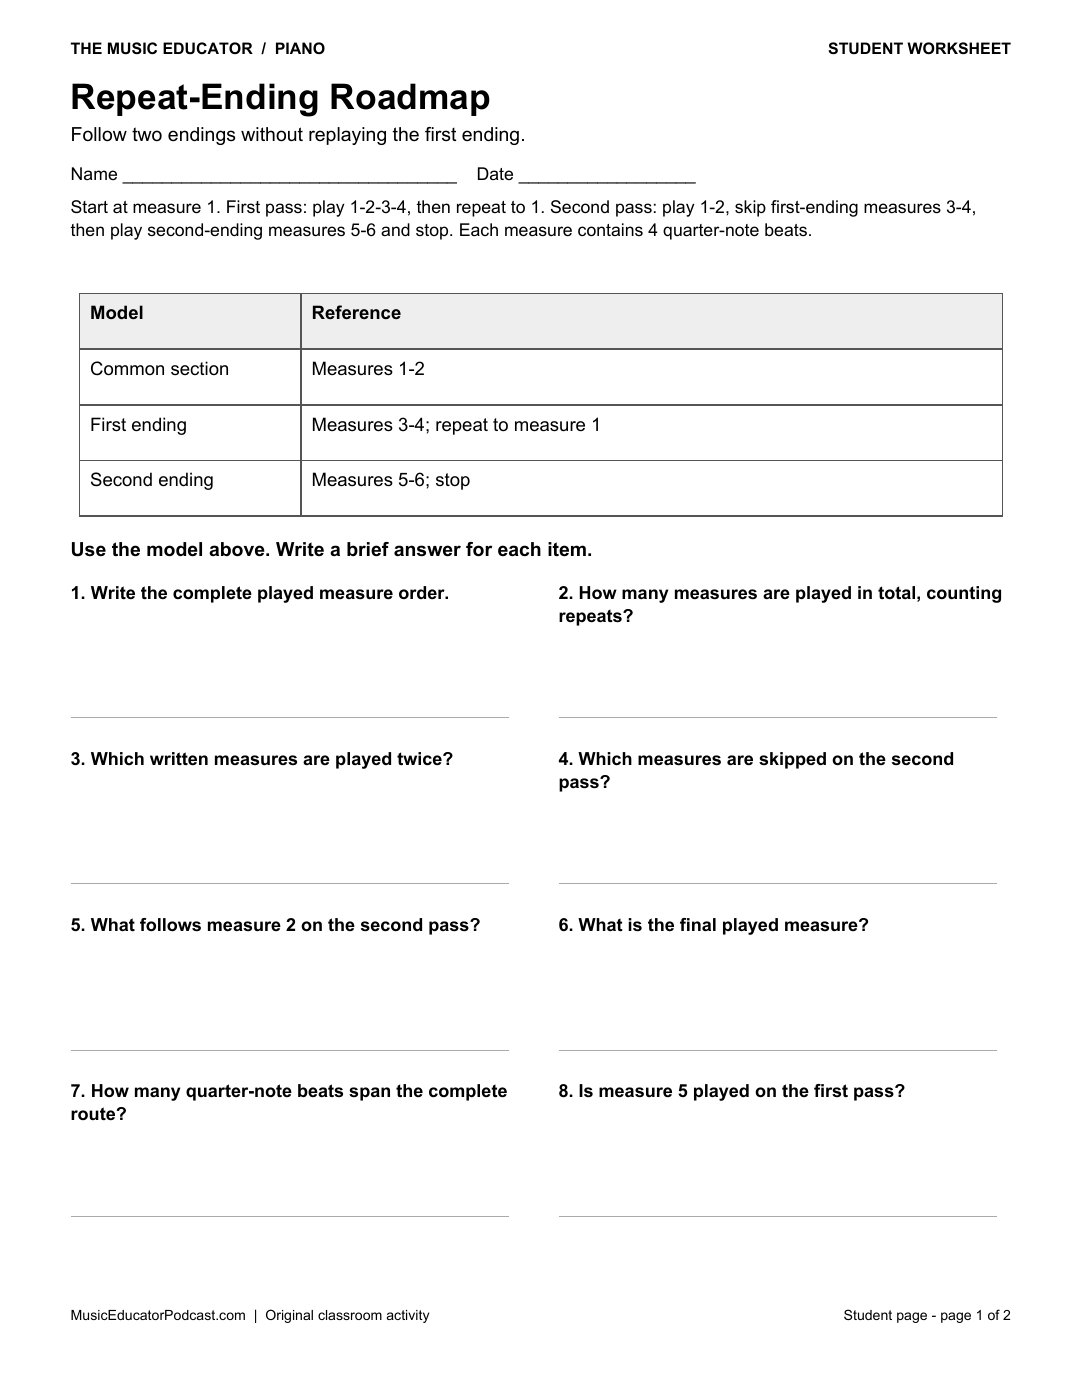
17. Repeat-Ending Roadmap
Follow two endings without replaying the first ending. Start at measure 1. First pass: play 1-2-3-4, then repeat to 1. Second pass: play 1-2, skip first-ending measures 3-4, then play second-ending measures 5-6 and stop. Each measure contains 4 quarter-note beats.
Download Repeat-Ending Roadmap (PDF)Student worksheet on page 1; matching answer key on page 2.
Preview the student worksheet
Frequently asked questions
Are answer keys included?
Yes. Each two-page PDF includes a key. The complete packet groups the 17 student pages first and the 17 keys afterward.
Do students need a piano?
No. The paper models contain the information needed to answer. A keyboard can help students connect their answers with sound during a follow-up demonstration.
Are these full scales or fingering charts?
No. The scale activities cover only degrees 1–5. Numbers and pitch labels identify musical relationships; they do not prescribe fingerings.
Can the pages be printed in black and white?
Yes. Text, staff diagrams and keyboard shapes remain readable without color. Print individual page 1 for students when keeping the key separate.